Installation
Download and install BookfoldMate (double-click the .msi file, it should install automatically).
Windows 7/8/10/11 : Download the BookfoldMate.msi file
(Windows XP/Vista : Download the BookfoldMateXP.msi file)
OR
|
|
We recommend you use the default settings when installing. It is a very small installation, less than 10MB, and requires no other files or databases. All features are ready out-of-the-box.
Starting A Bookfolding Project
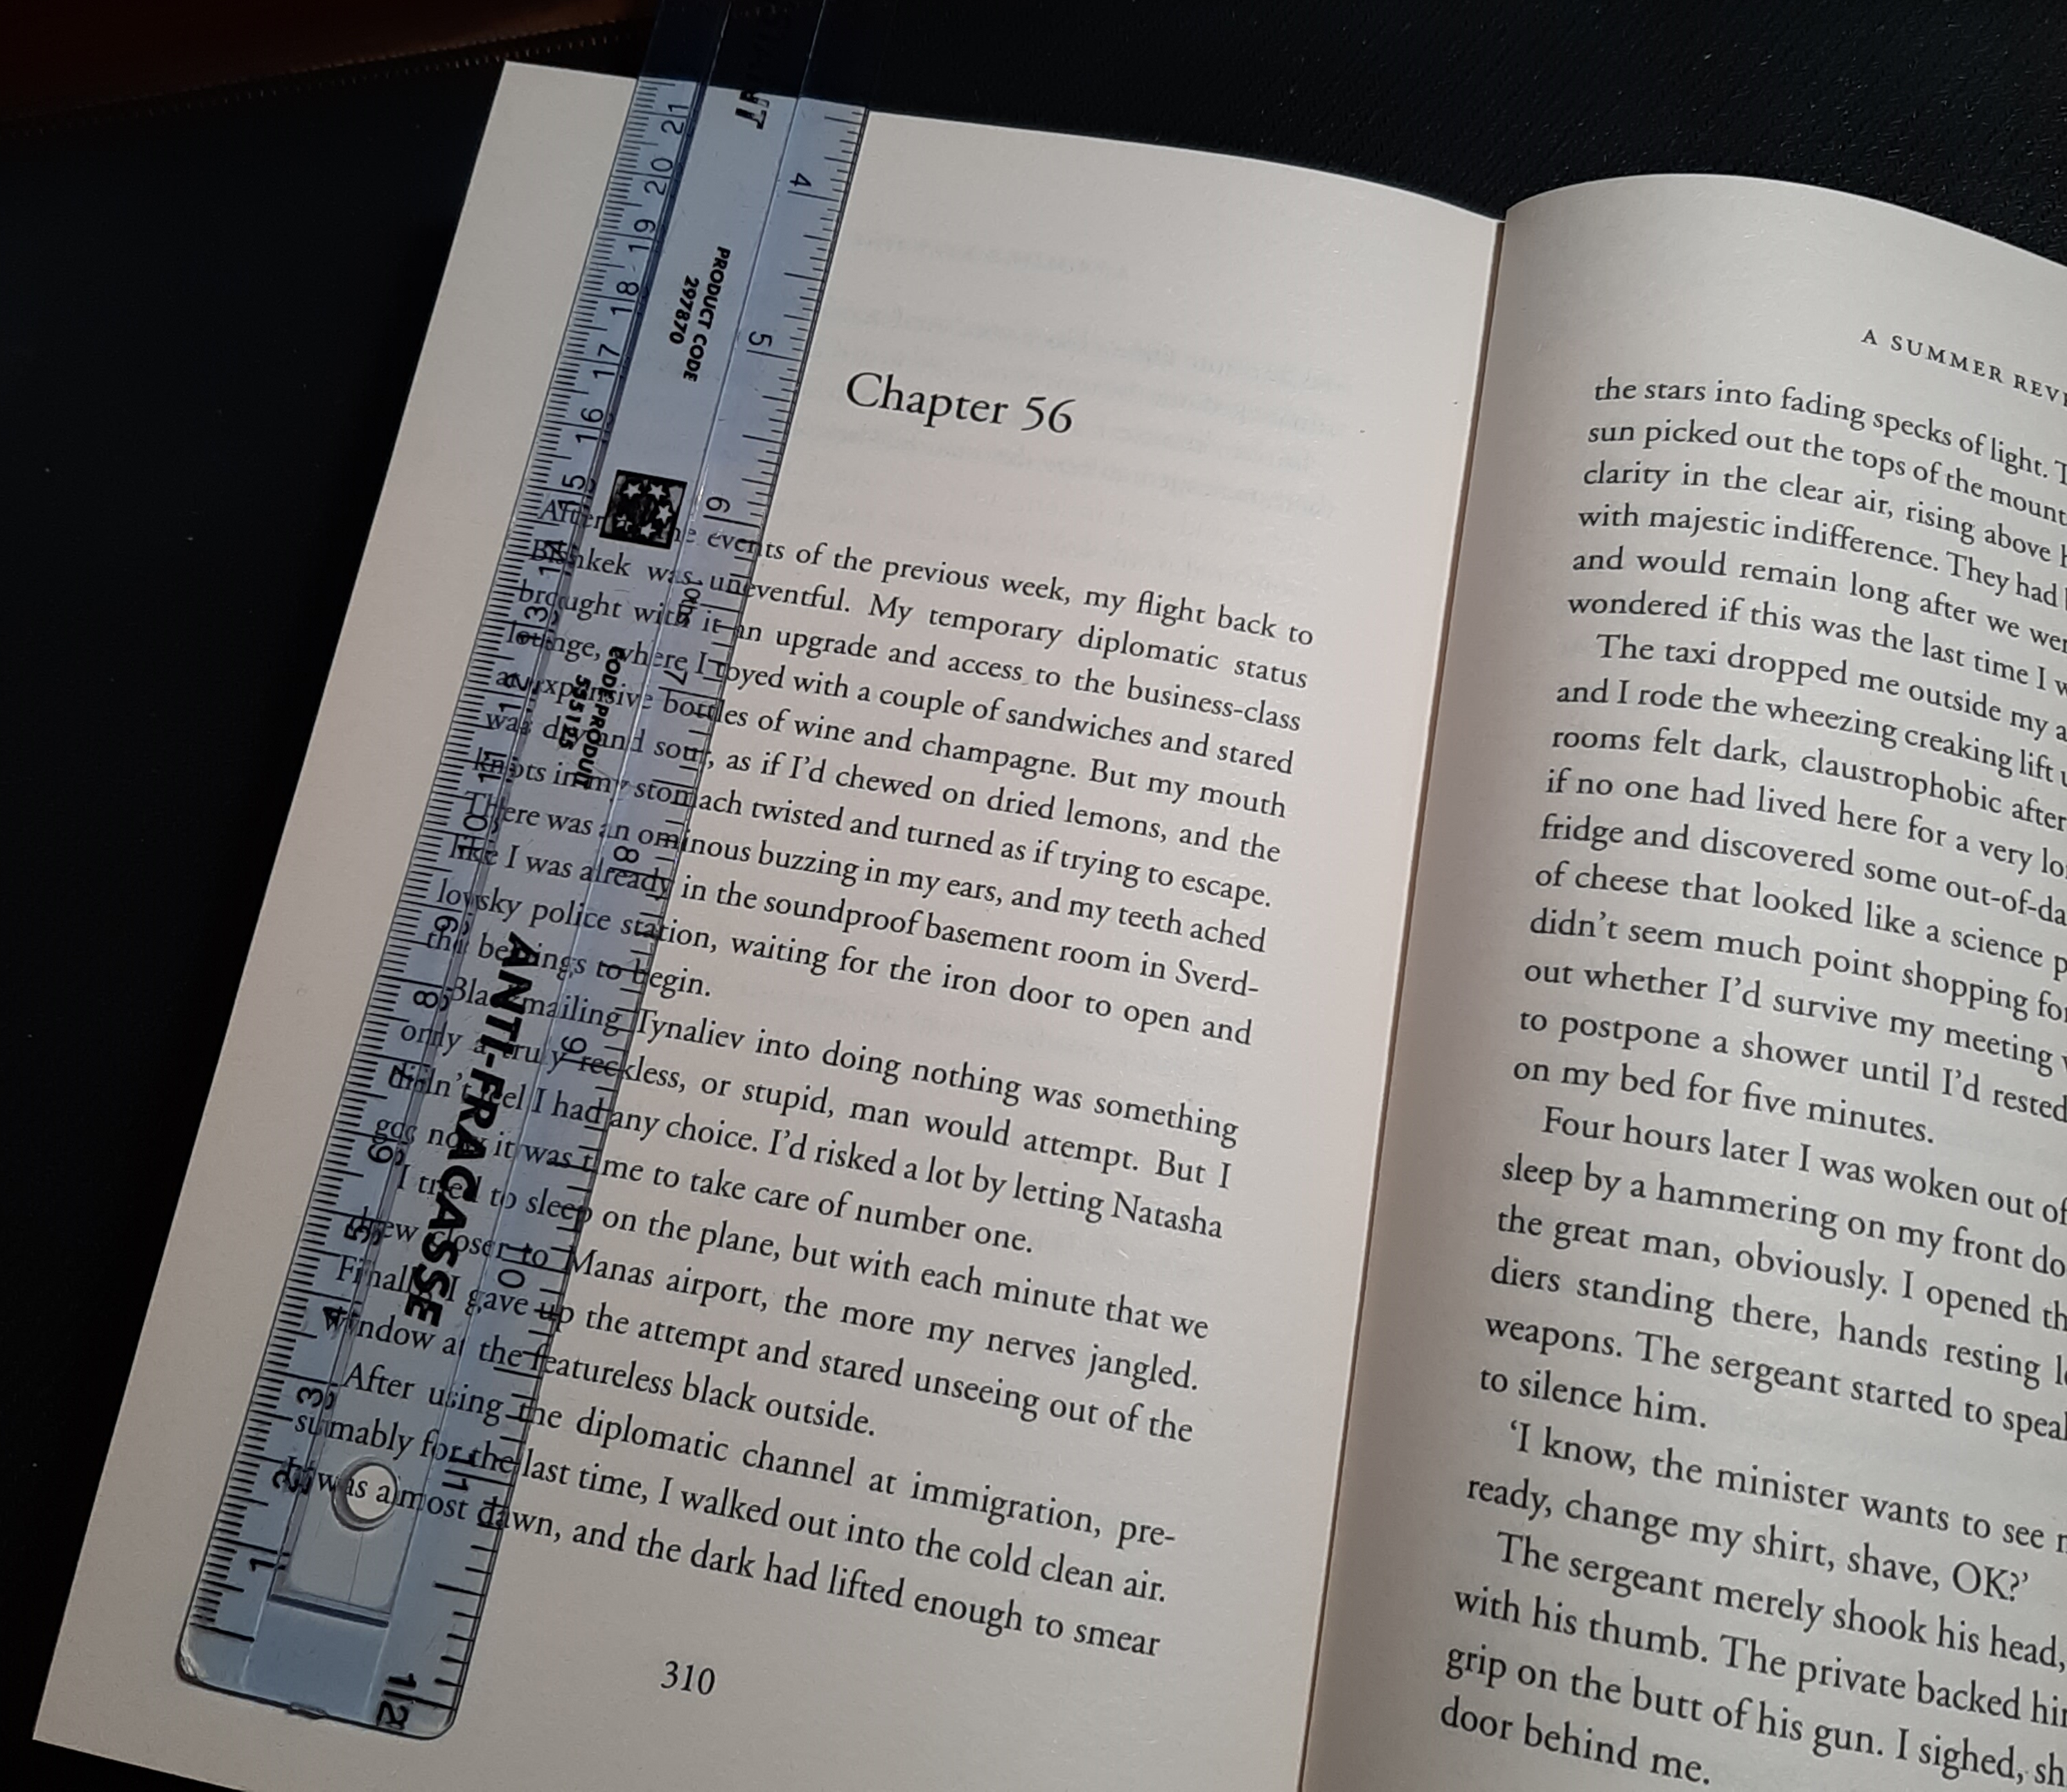
1. Measure a hardback book
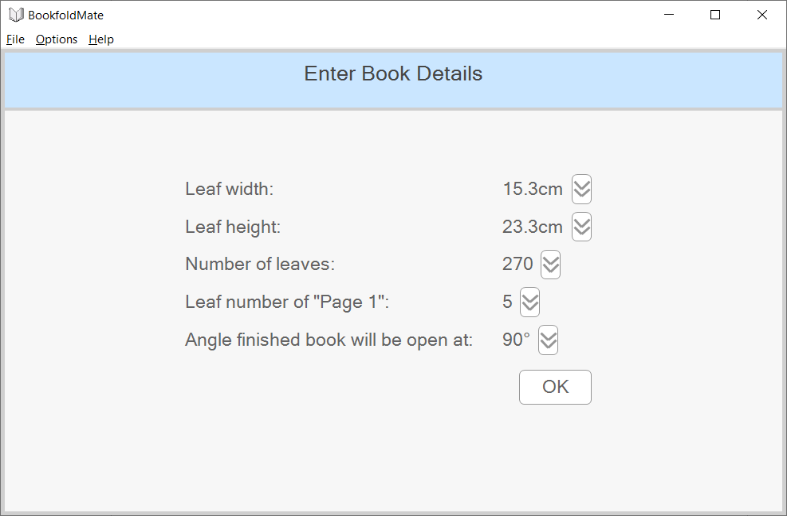
2. Enter the book details:
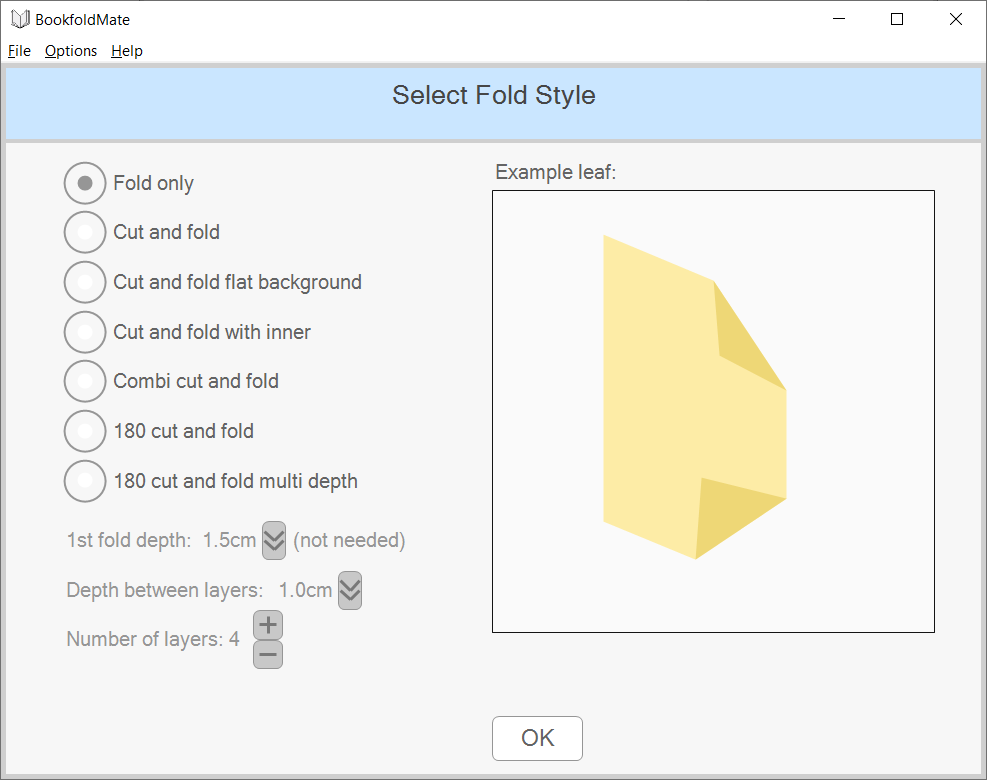
3. Select a folding-style (see gallery for examples of the folding-styles):
Creating A Bookfolding Pattern
1. Drag characters and images onto the main workspace area.
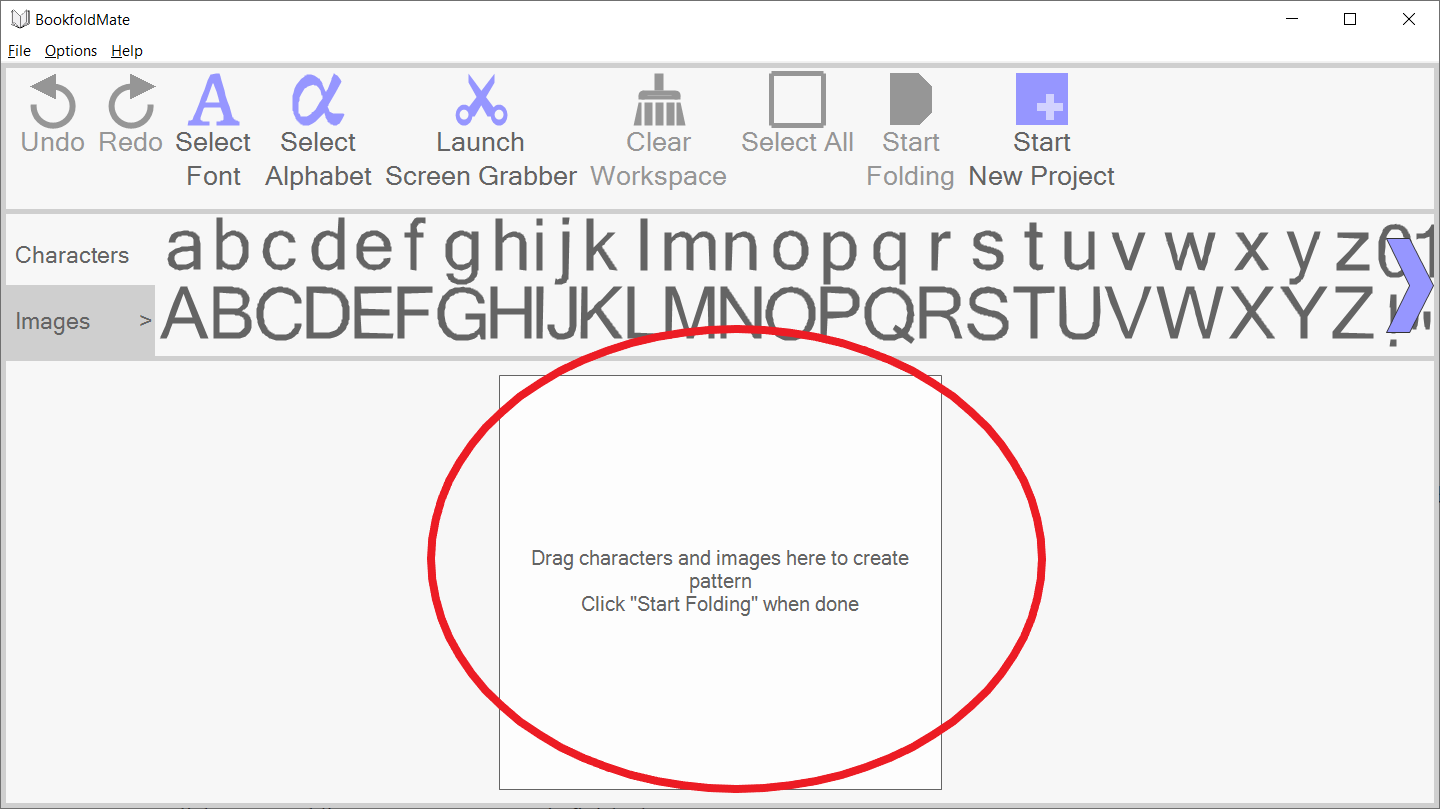
2. Alternatively, use "Launch Screen Grabber" to grab any image from your screen. For example, you could grab an image from a web browser, or from a painting application.
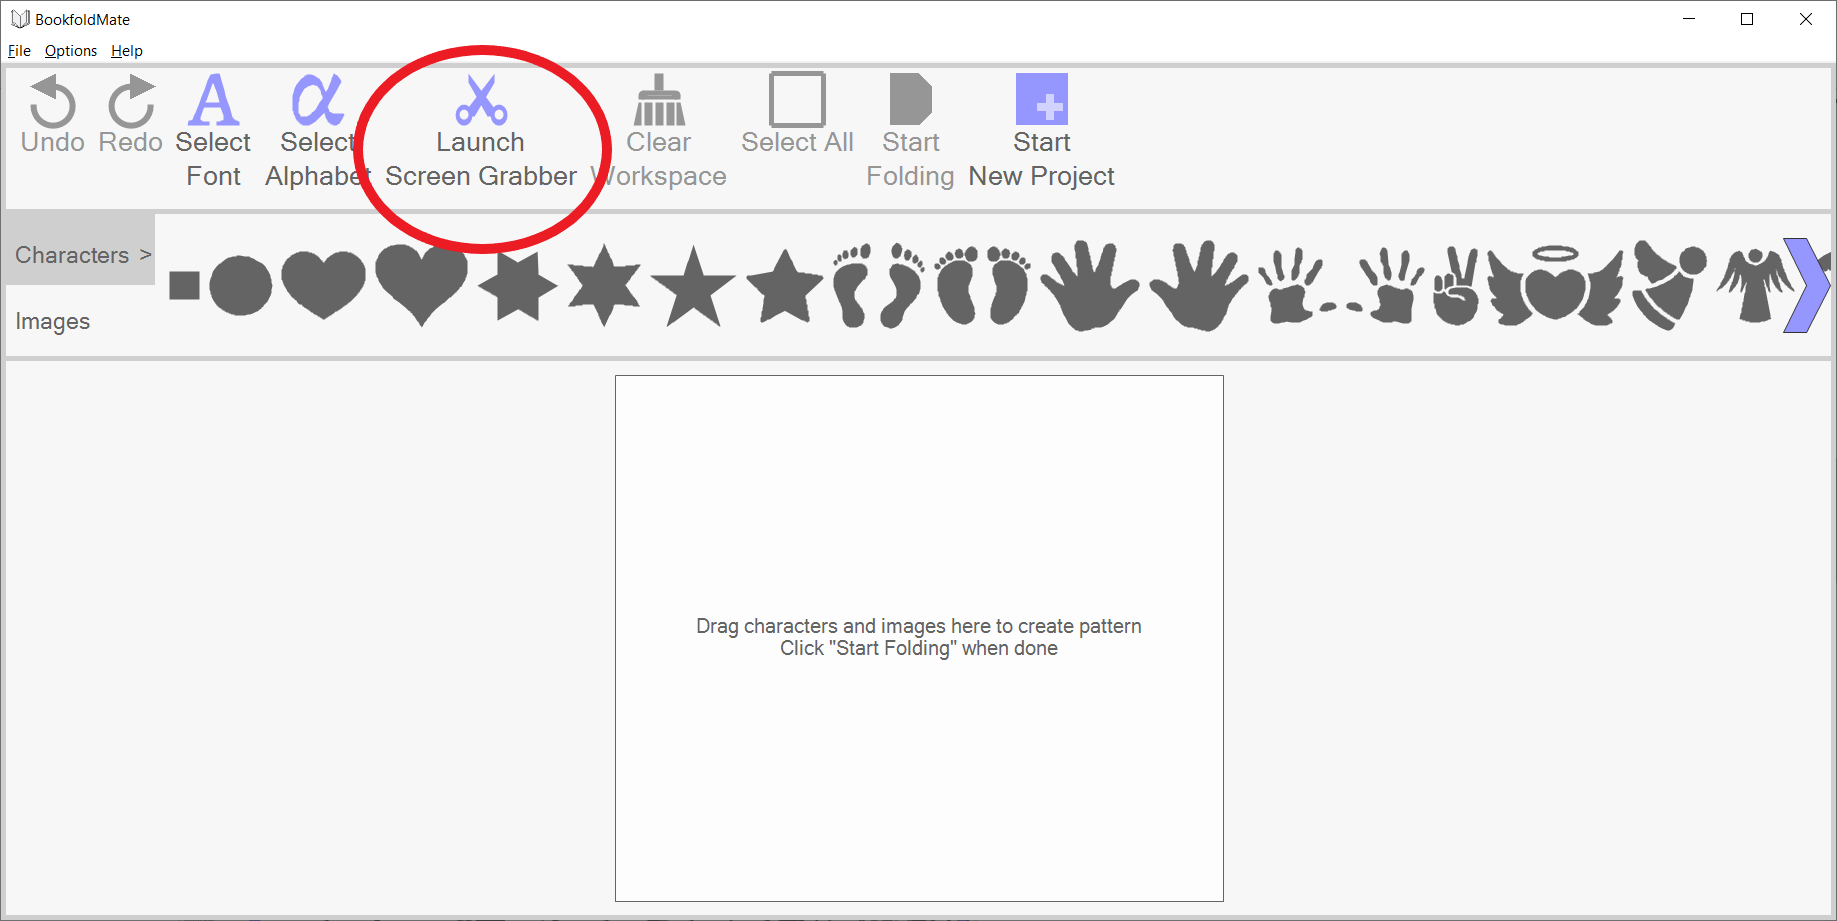
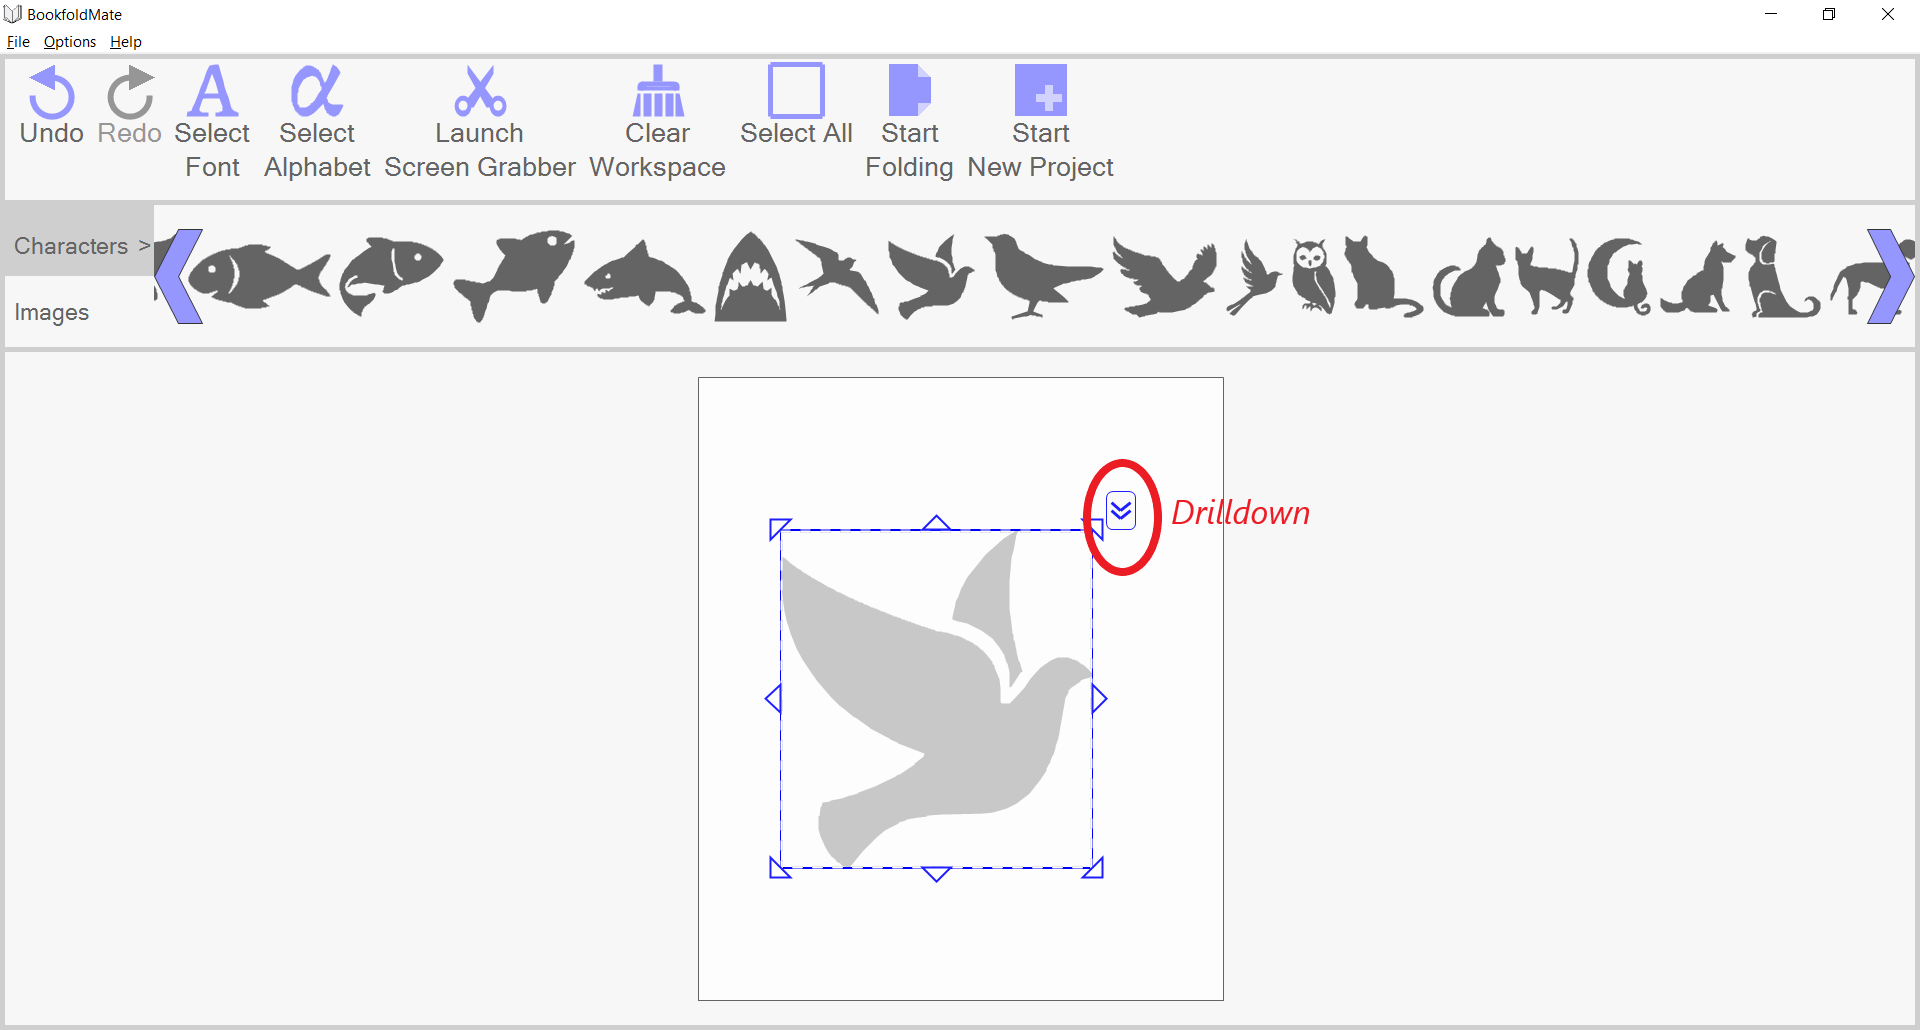
3. Resize/stretch/rotate/flip each character or image via the drilldown button.
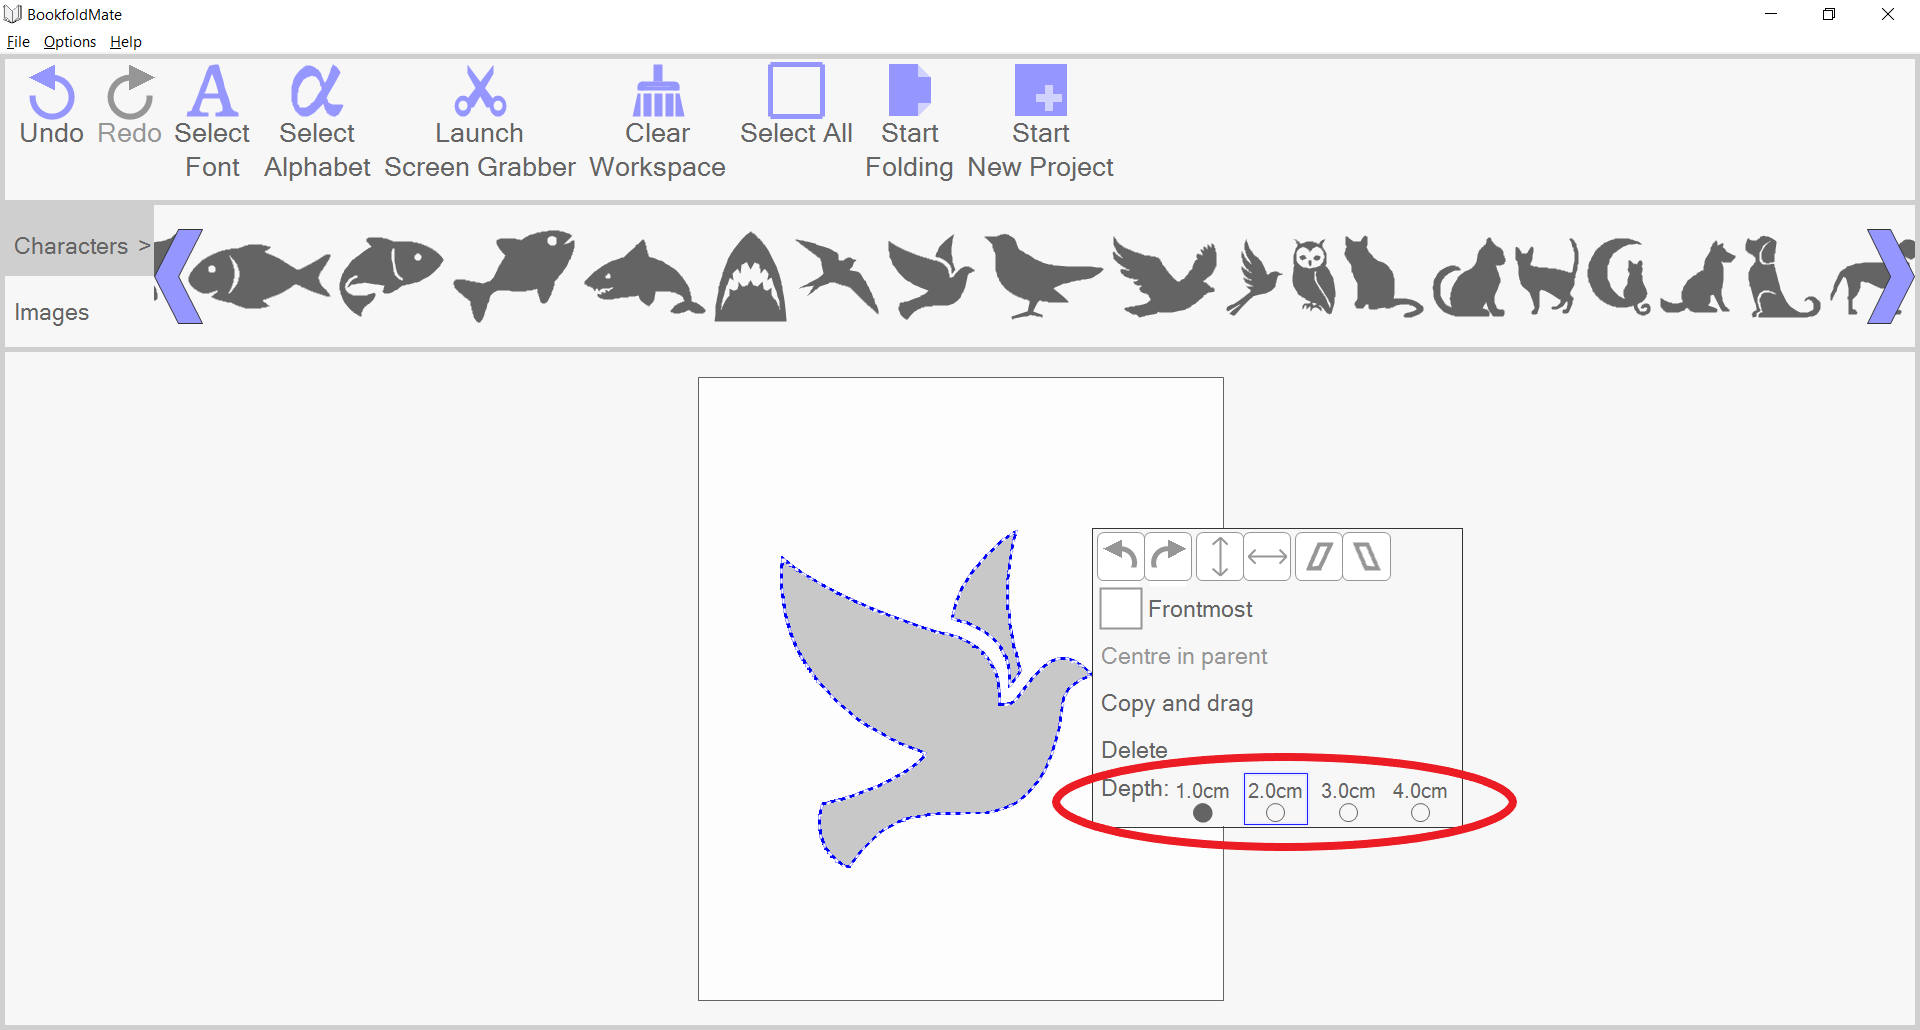
4. For multi-layered patterns, use the drilldown button to set the depth layer.
Folding
1. When you have finished your pattern, click "Start Folding".
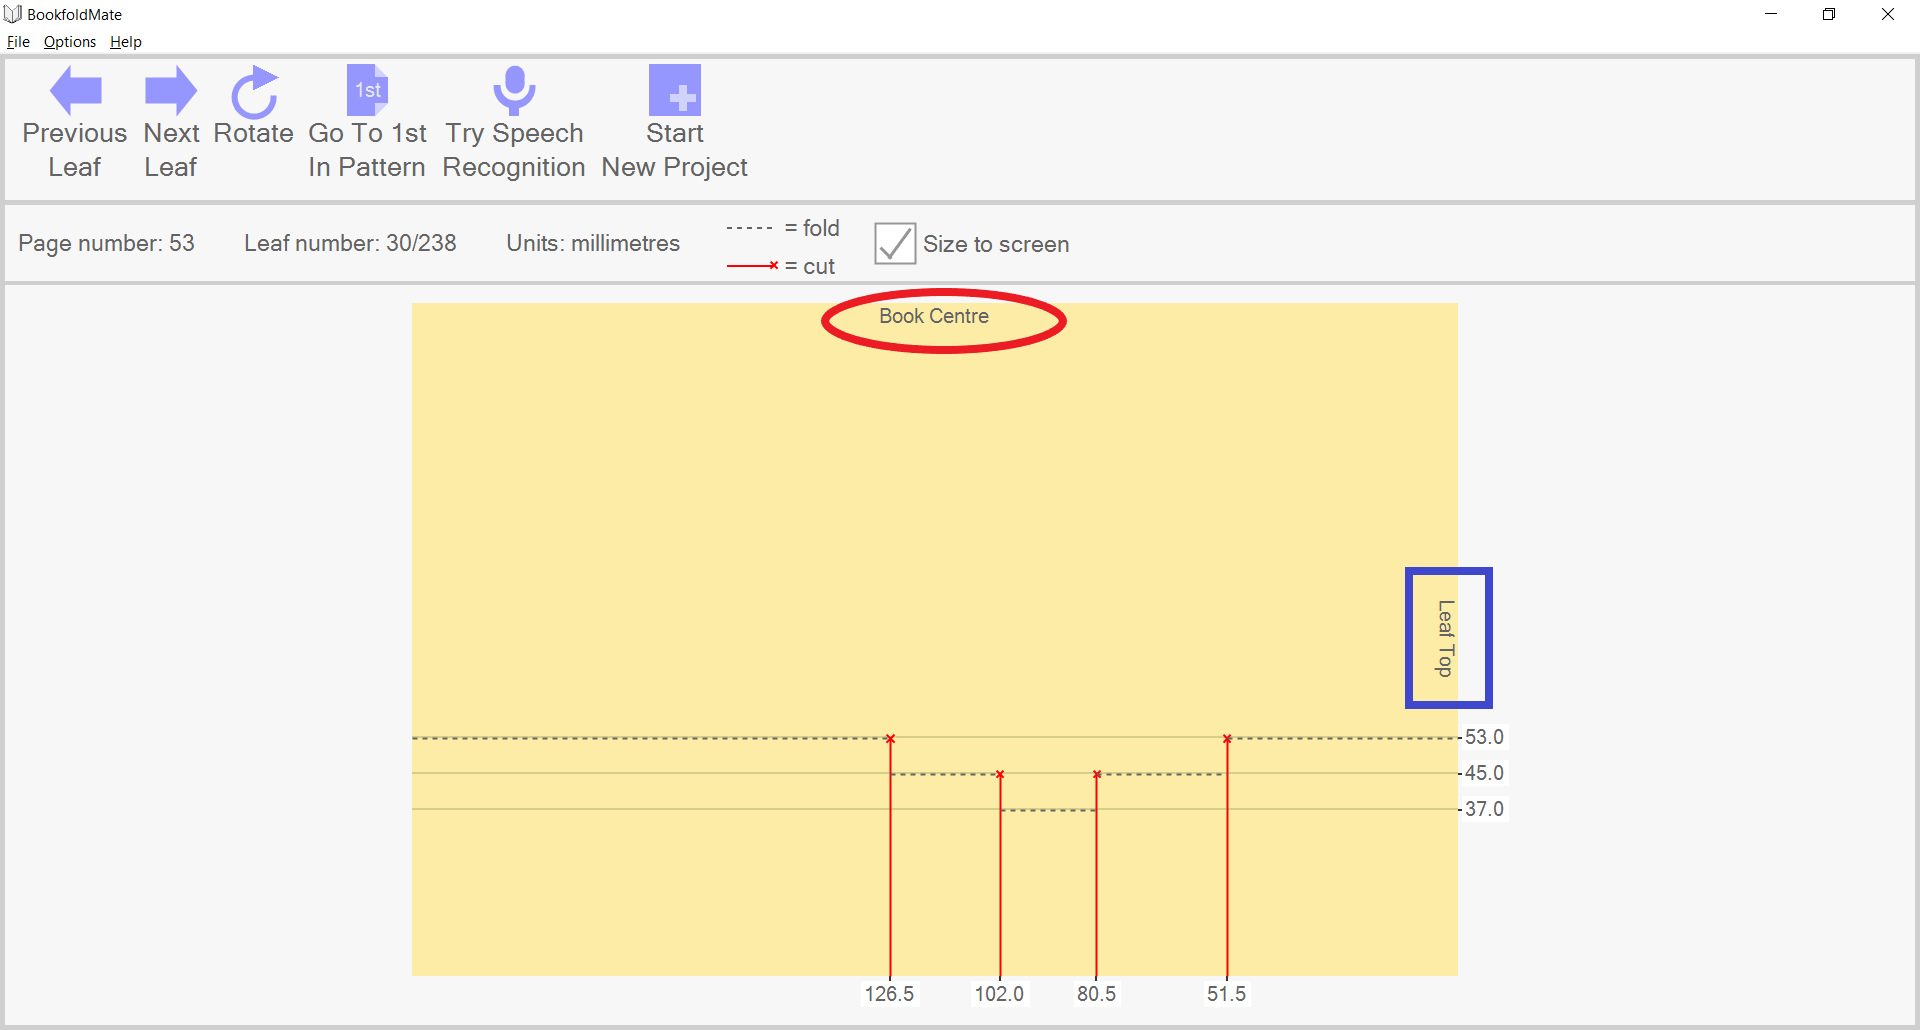
2. Follow the page-by-page diagrams to cut and fold each page.
4. Click the "Rotate" button to orientate the app's diagram to the same way you prefer to physically have the book.
3. Look for the "Book Centre" and "Leaf Top" labels to ensure your book is orientated correctly.
4. Please ensure you understand the following pictures which illustrate the real-world book being orientated the same way as the diagram:
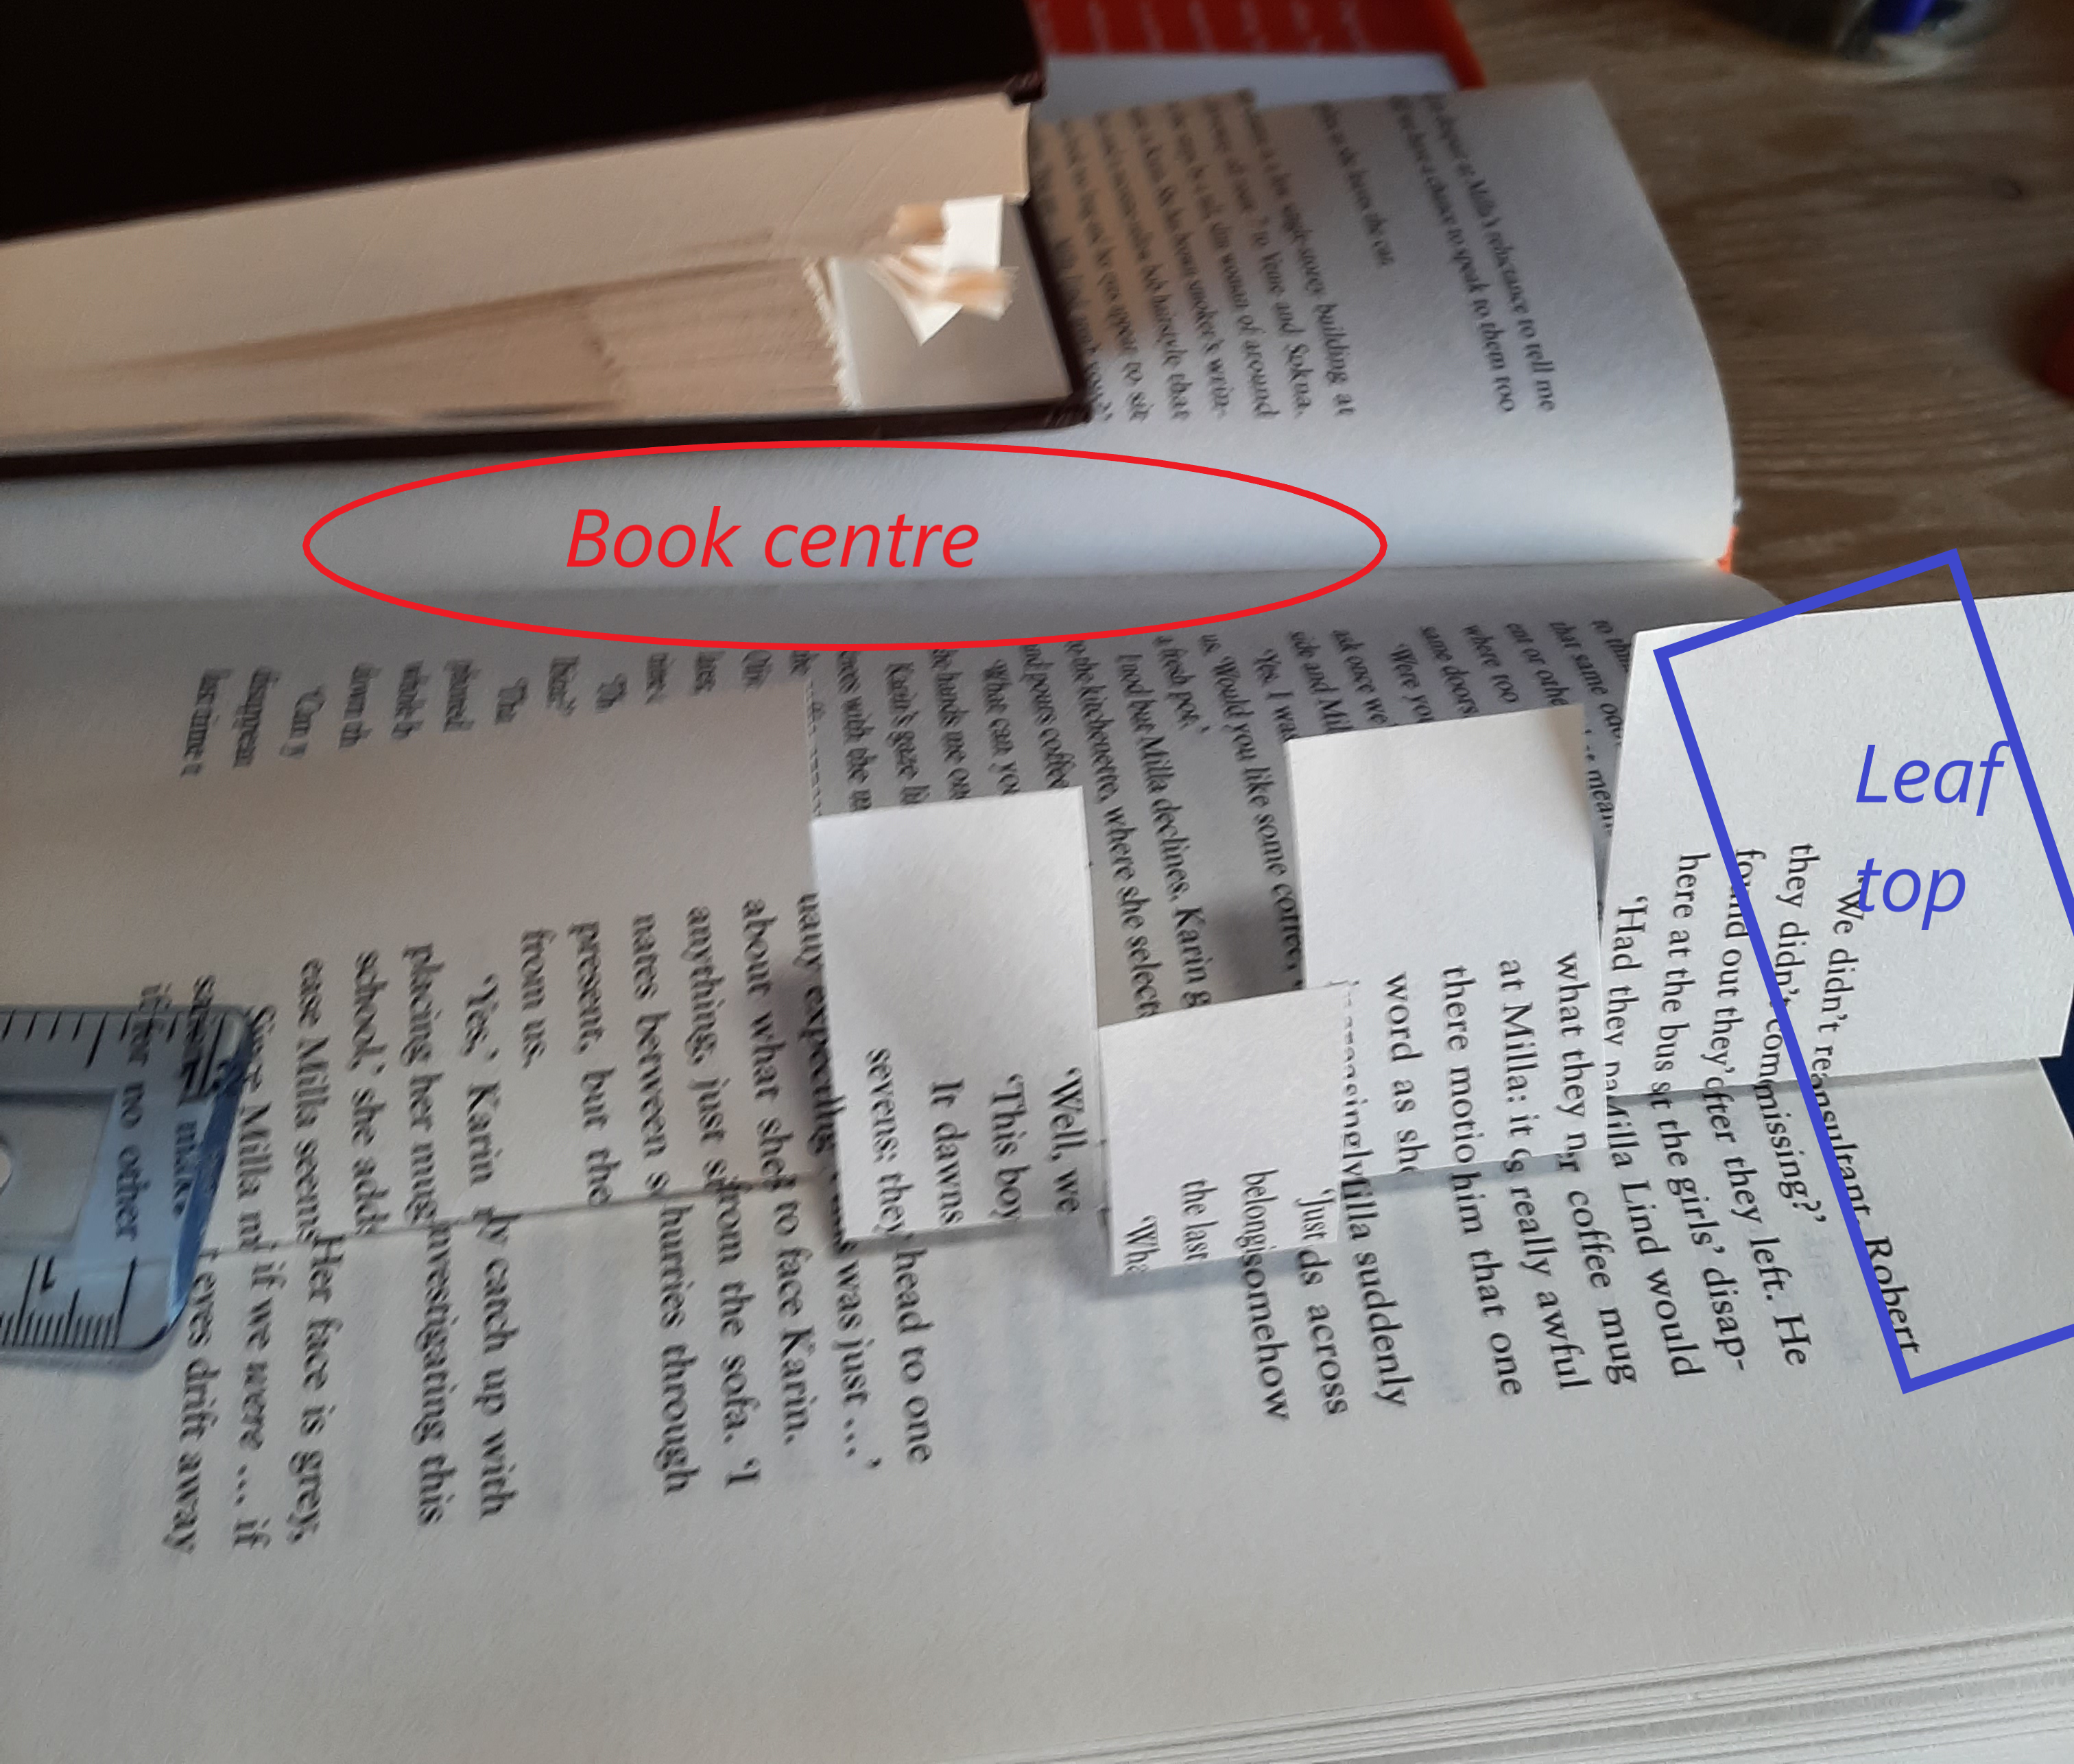
Next Bookfolding Project
When you have finished folding and want to start a new project, click "Start New Project". Then you will return to the "Enter Book Details" screen.
Tips
- Use a hardback book.
- We recommend using a book with at least 300 pages to avoid pages appearing too spaced out.
- Avoid books with shiny or flimsy pages.
- Embossed-style method (a) : use a "180 cut and fold multi-depth" style with 2 layers - drag on the square image, stretch it out to the edges of the workspace, and make it the deepest of the two layers. Add the pattern on top of the square and set it to the shallower depth.
- Embossed-style method (b) : use a "180 cut and fold" style but reverse the fold depths when you cut-and-fold. ("180 cut and fold" style is imprint-style by default.)
- Embossed-style patterns often look good when enhanced with a marker pen - simply draw a line along the protruding fold.
- You can micro-adjust the position of items in the workspace by selecting them, then using the left/right/up/down arrows keys.
- When working through the page-by-page cut-and-fold diagrams, double-check the "Book Centre" and "Leaf Top" labels to ensure you have not inadvertently clicked "Rotate".
Thank you for taking the time to install and try out BookfoldMate, we really hope you like it. Please feel free to contact us with any enquiries or feedback, we'd like to hear from you : bookfoldmate@gmail.com