Frequently Asked Questions
1. Can I trial the app before before paying for a licence?
Yes. In fact, we encourage you to do this.
On the "Welcome To BookfoldMate" screen, click "No":

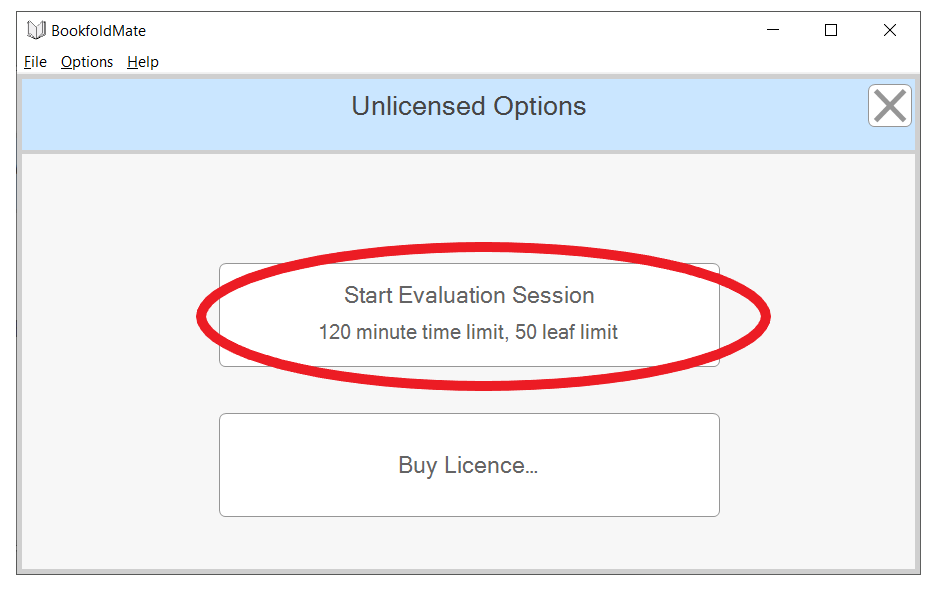
Then, on "Unlicensed Options", click "Start Evaluation Session":
2. How do I save my work?
You do not need to manually save your work, it is auto-saved every few seconds.
3. Can I print out the fold measurements?
No, BookfoldMate is designed to avoid print outs. You work from your computer screen, reading the measurents from each page-by-page diagram, and mark them on the book using a ruler.
4. How would I convert an image file, such as png or jpeg, to a bookfolding design?
- Open the image file in some other suitable application. On Windows 10 the default app is usually "Photos", which is fine.
- Enlarge the image as much as possible.
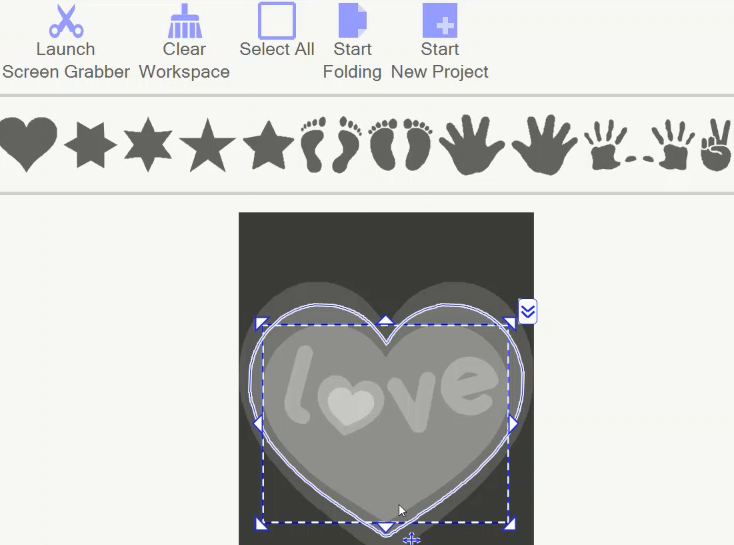
- In BookfoldMate, click "Launch Screen Grabber", then press down the mouse button and drag around the section of screen you want.
- The image will now be in BookfoldMate's workspace. Stretch it out to the desired size.
- You can use "Launch Screen Grabber" multiple times, bringing several screen grabs into one design.
5. Where does BookfoldMate save its data on my computer?
This is found by going to the menu item "Options -> File Status". It is saved in a folder specific to the current Windows user account, usually something like:
C:\Users\[username]\AppData\Local\Patchworkz_9EBA\BookfoldMate_9EBA
6. What does the menu item "Options -> Experimental -> Diagnostic Mode" do?
This mode will create log files on your computer. It it not intended for normal users, please do not use this mode.
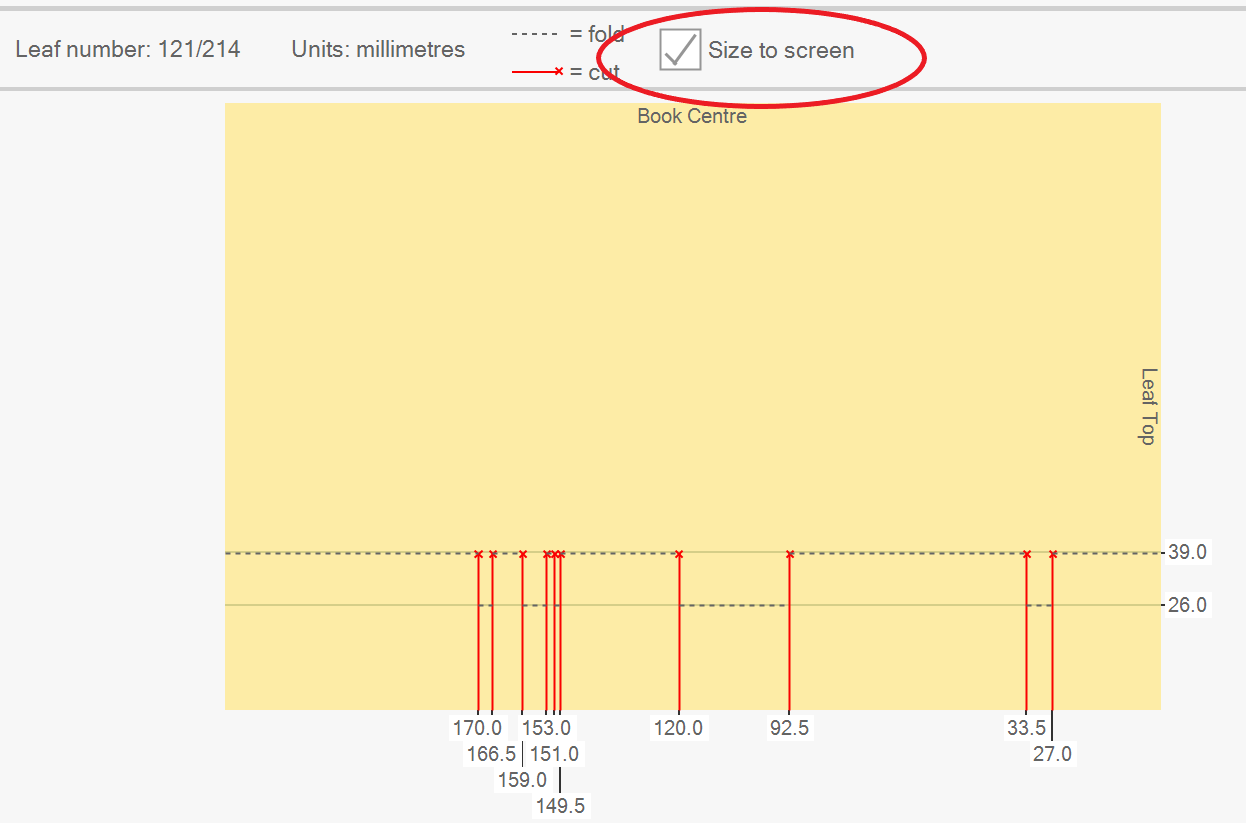
7. The page measurements are squashed up, how can I space them out?
By default, the page-by-page diagrams will try to fit the whole page plus measurements into the screen.
To space out the measurements, switch OFF the "Size to screen" checkbox:
8. What is meant by "1st fold depth" when doing a "180 cut and fold multi depth" style design?
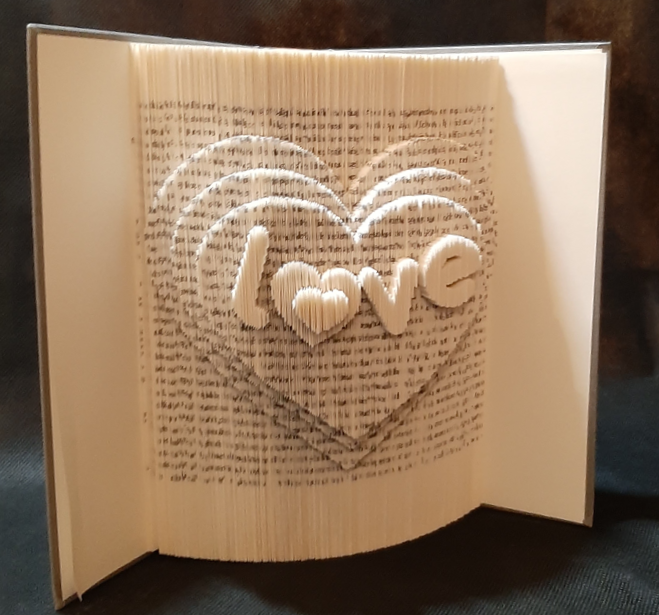
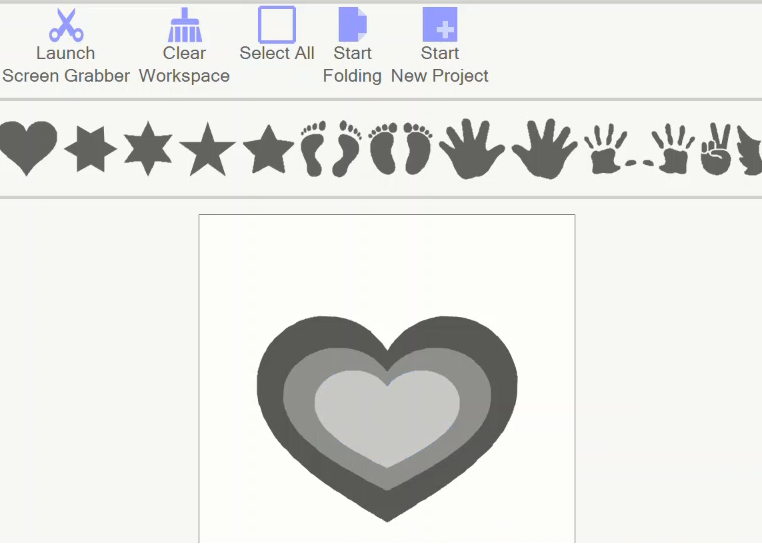
When doing an imprint-style design with multiple layers, such as the triple-layered heart shown below, the white area in the workspace is also folded.
This is the shallowest layer and can be regarded as the background. It's fold depth will be set from the "1st fold depth" value.
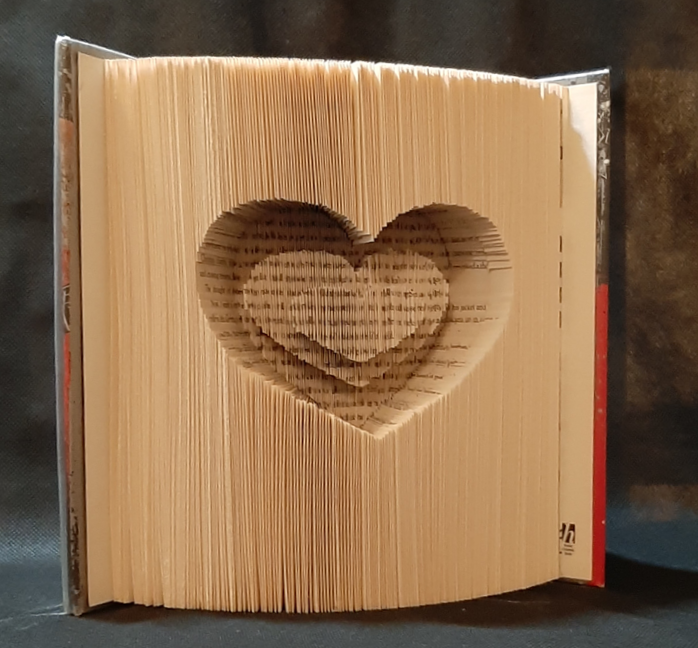
When doing an embossed-style design with multiple layers, as shown below, you have to drag the square stock image onto the workspace and stretch it out to the edges.
Then set it to the deepest layer. Thus you have manually created your own background layer at the deepest depth. "1st fold depth" isn't relevant to this style of design and can be set to the smallest value possible.
